Rhino / Grasshopper setup
- Download template files from here
- Open
Bark beetle - CNC milling - template.3dmin Rhino
Prepare design in Rhino
- Create rectangle with size of material to use (click rectangle command and type: start point)
- Import design in Rhino
- Fix/adjust design if neccessary (e.g. close shape)
Create rectangle
- Click rectangle command
- Enter (type) starting point (e.g.
0,0) - Enter
width, enterheight
Close shape
- Select lines to join
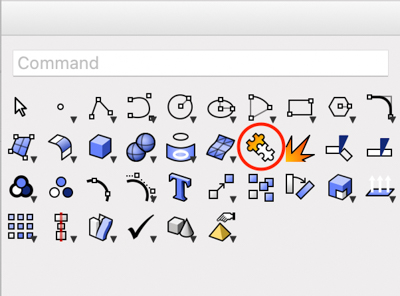
- Click
joincommand (Puzzle icon)
Make tabs
- Create a box (blue cube command) where you want the tab (e.g.
20 mmwide and2 mmhigh) - Move box downwards until the box bottom and workpiece bottom coincide
- Copy box to other places where there should be tabs (press
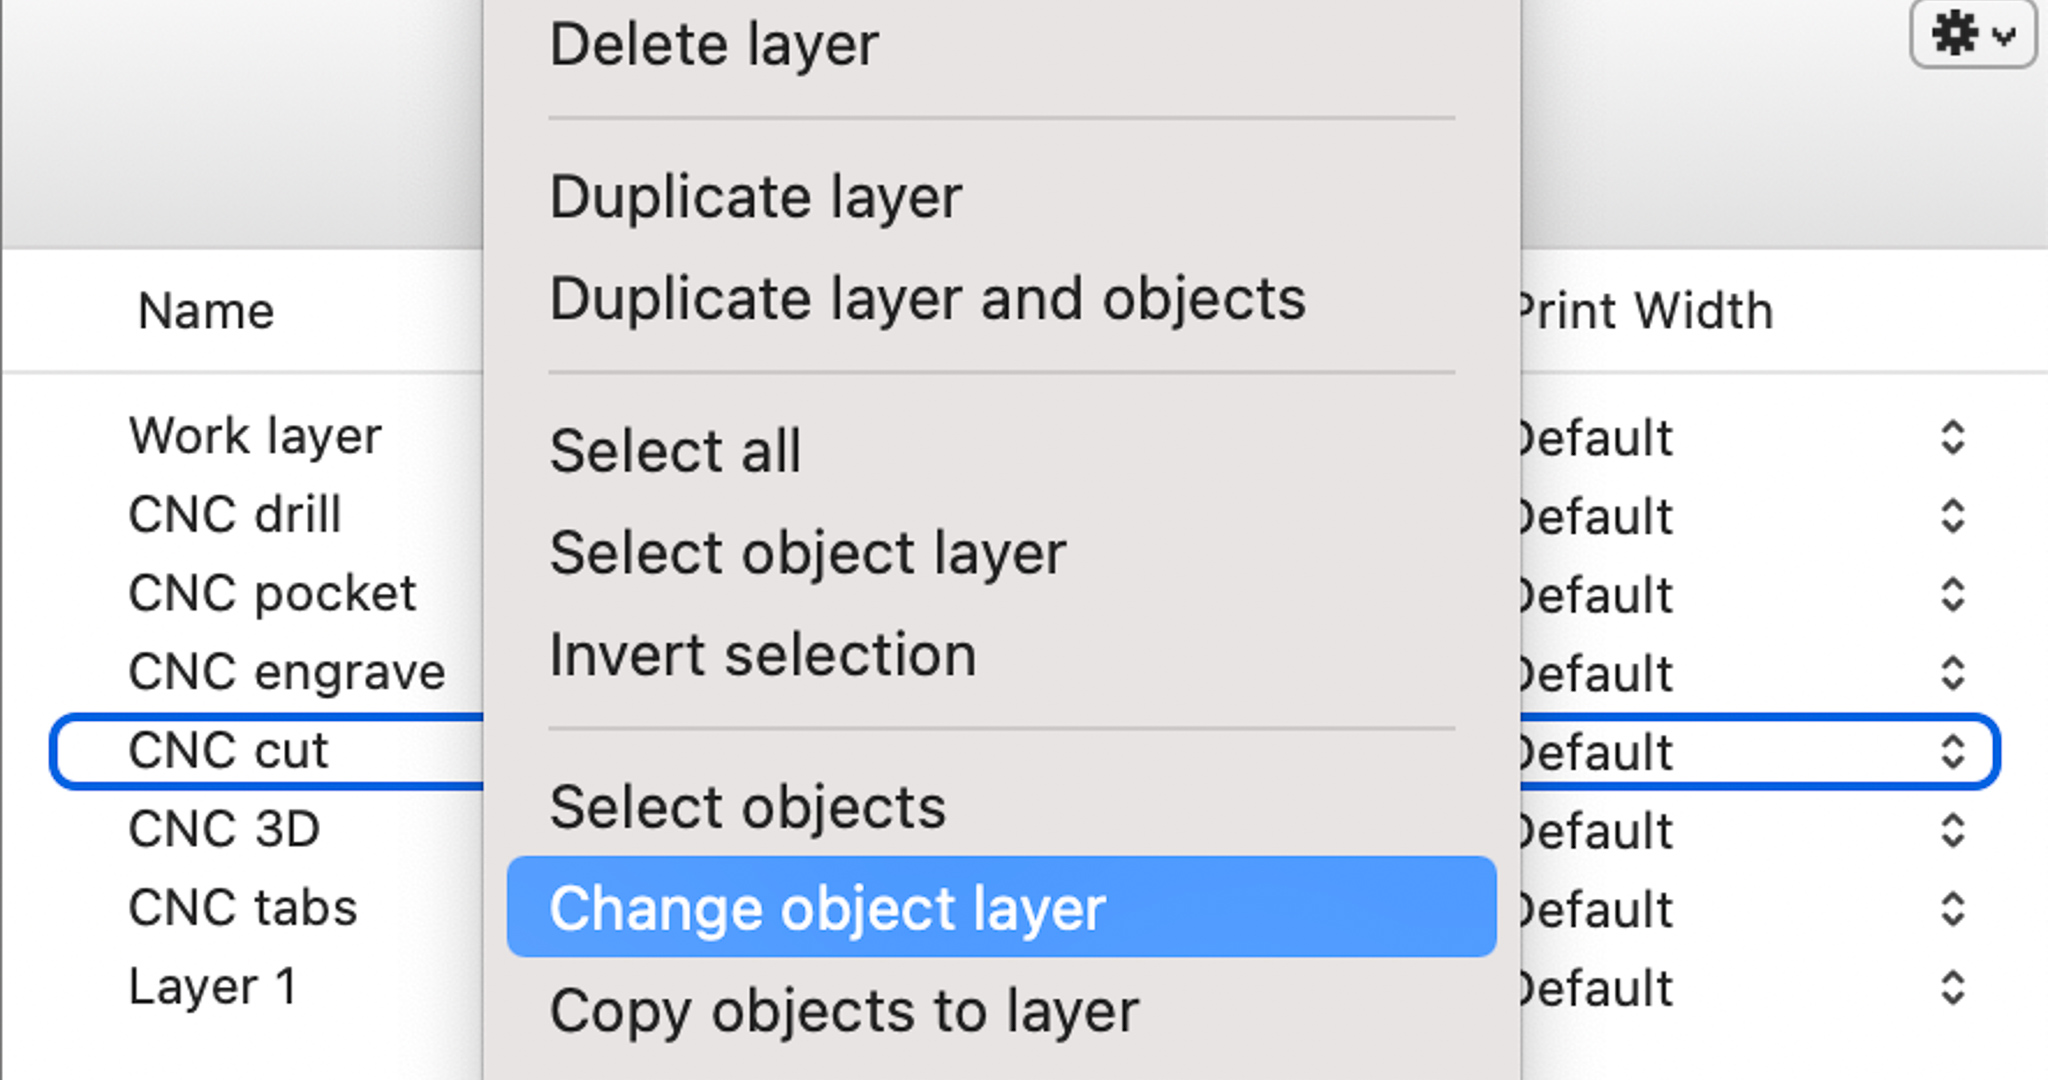
option& move) - Select all boxes, right click
CNC tabs>Change object layer
Create the cutting toolpath next. In the cutting toolpath preview it should be visible that the tabs are not cut
Machining settings in Grasshopper
- Type
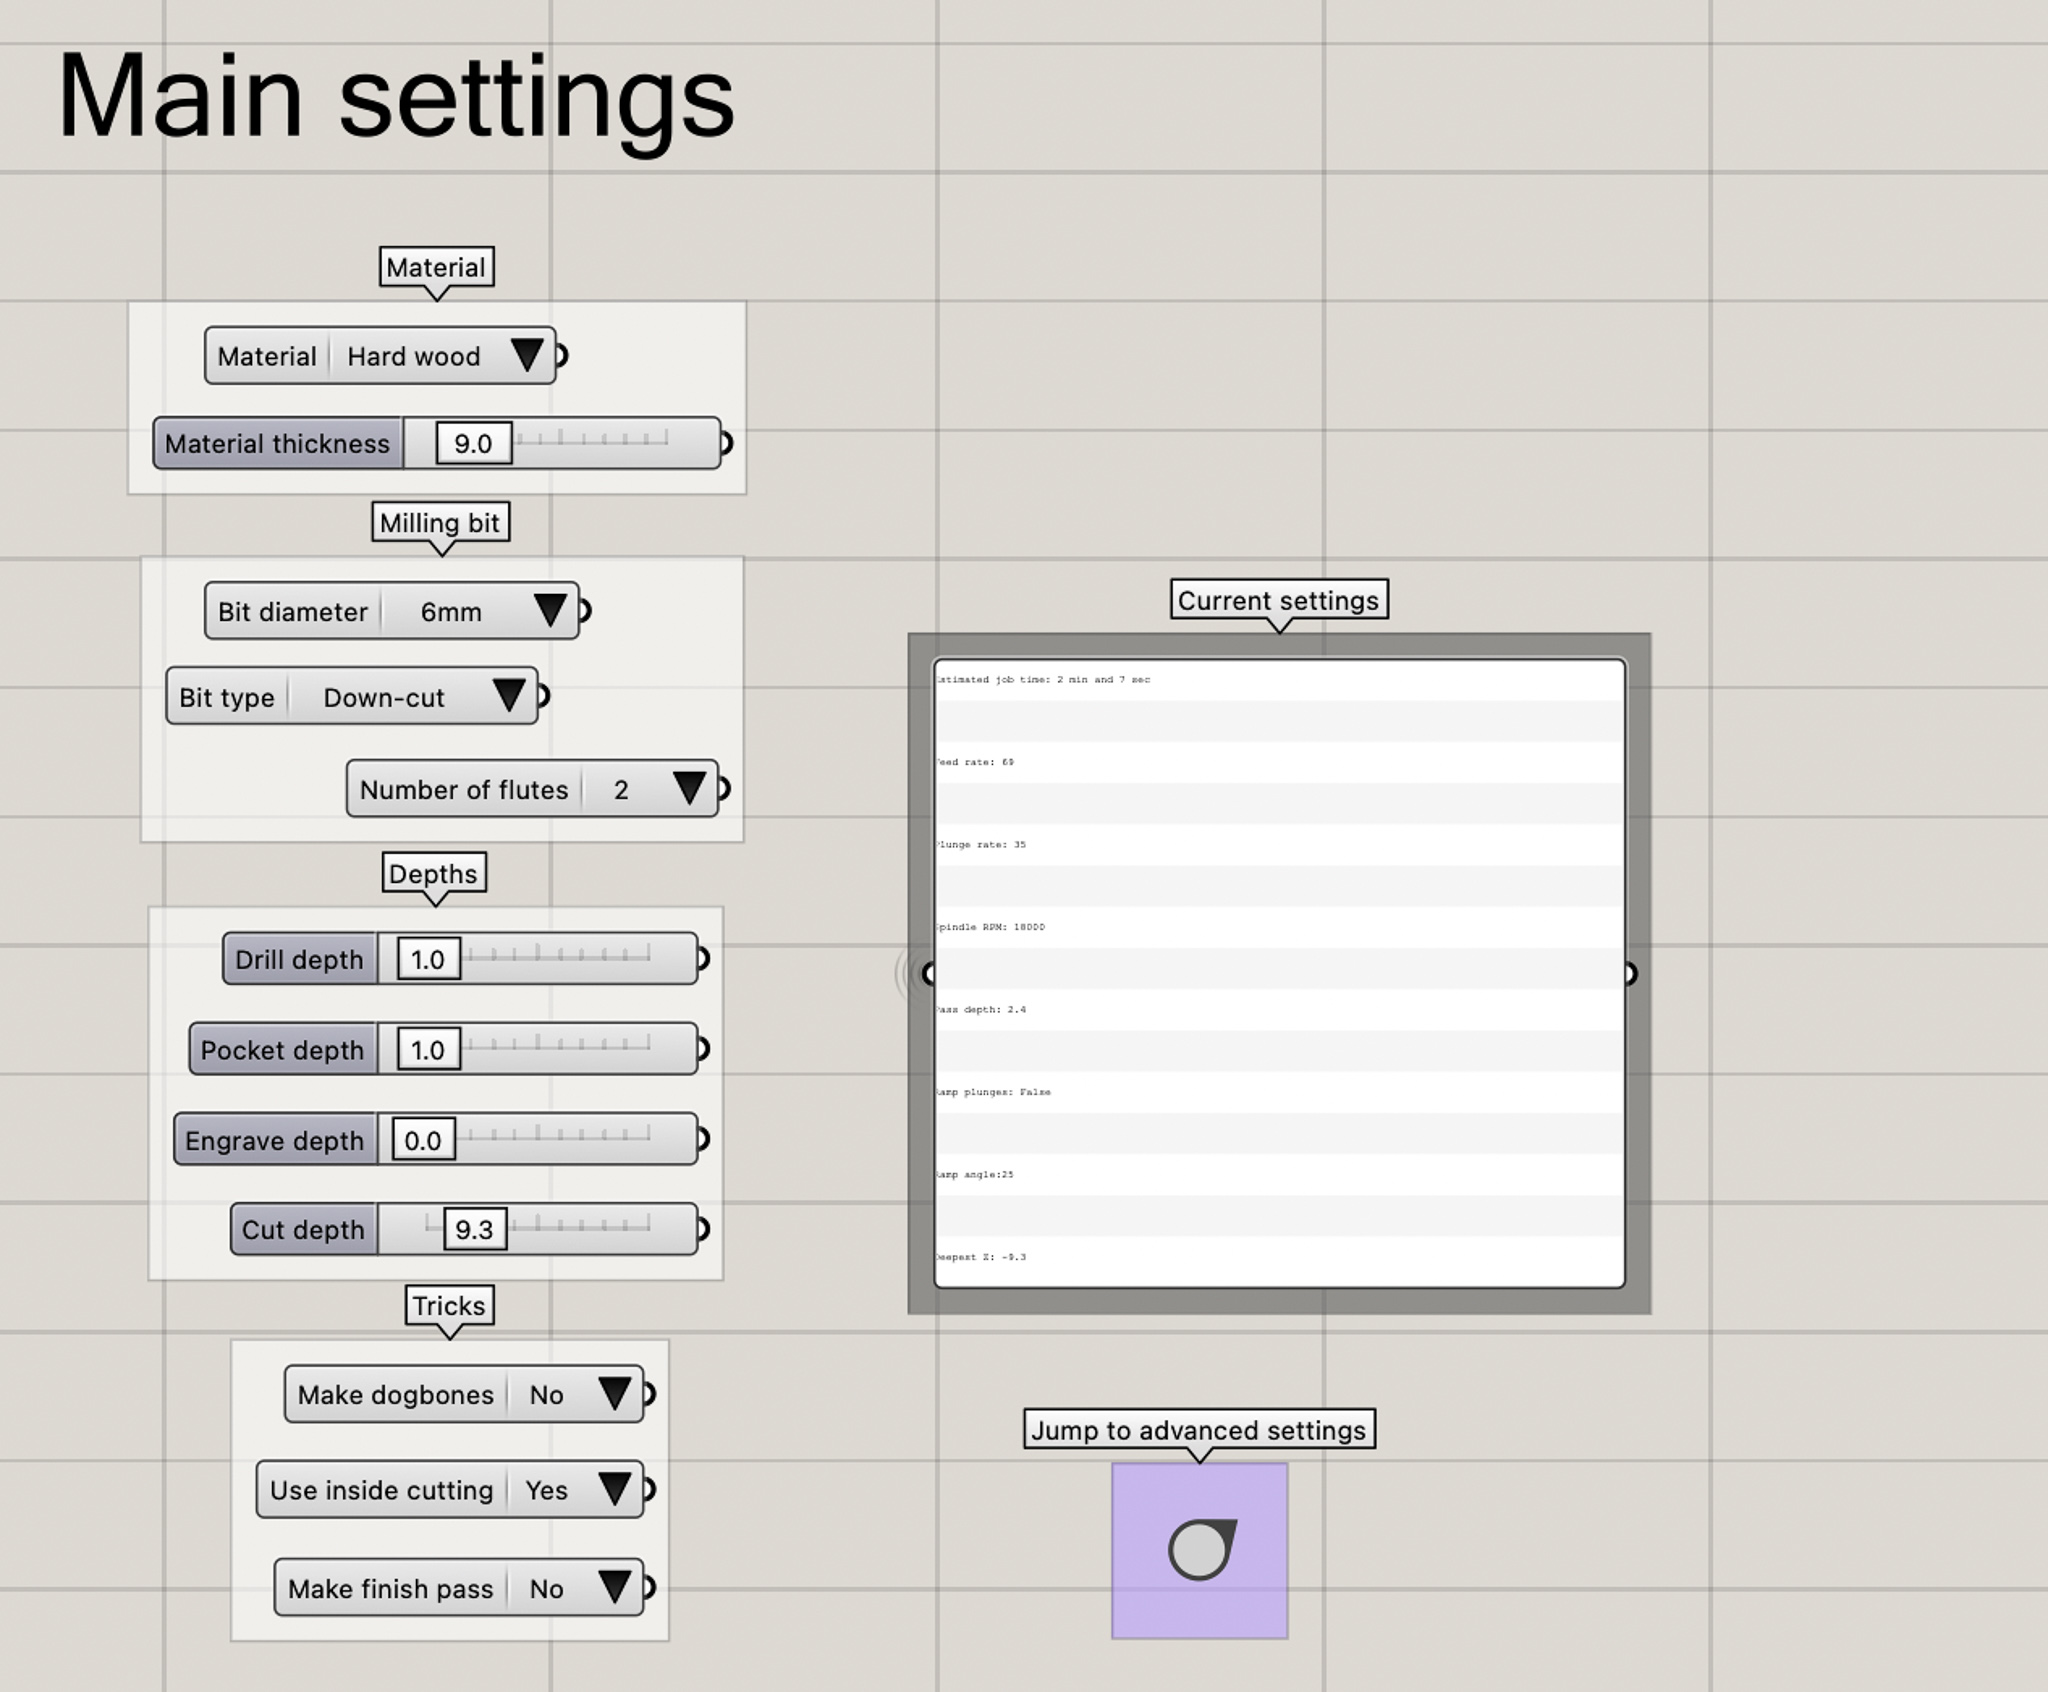
grasshopperin command line > Grasshopper window opens > Click on green tile (top left one) - Adjust
Main settings- For multiplex:
Material: Hard wood Use inside cutting: yes> cut inside design lineUse inside cutting: no> cut outside design line
- For multiplex:
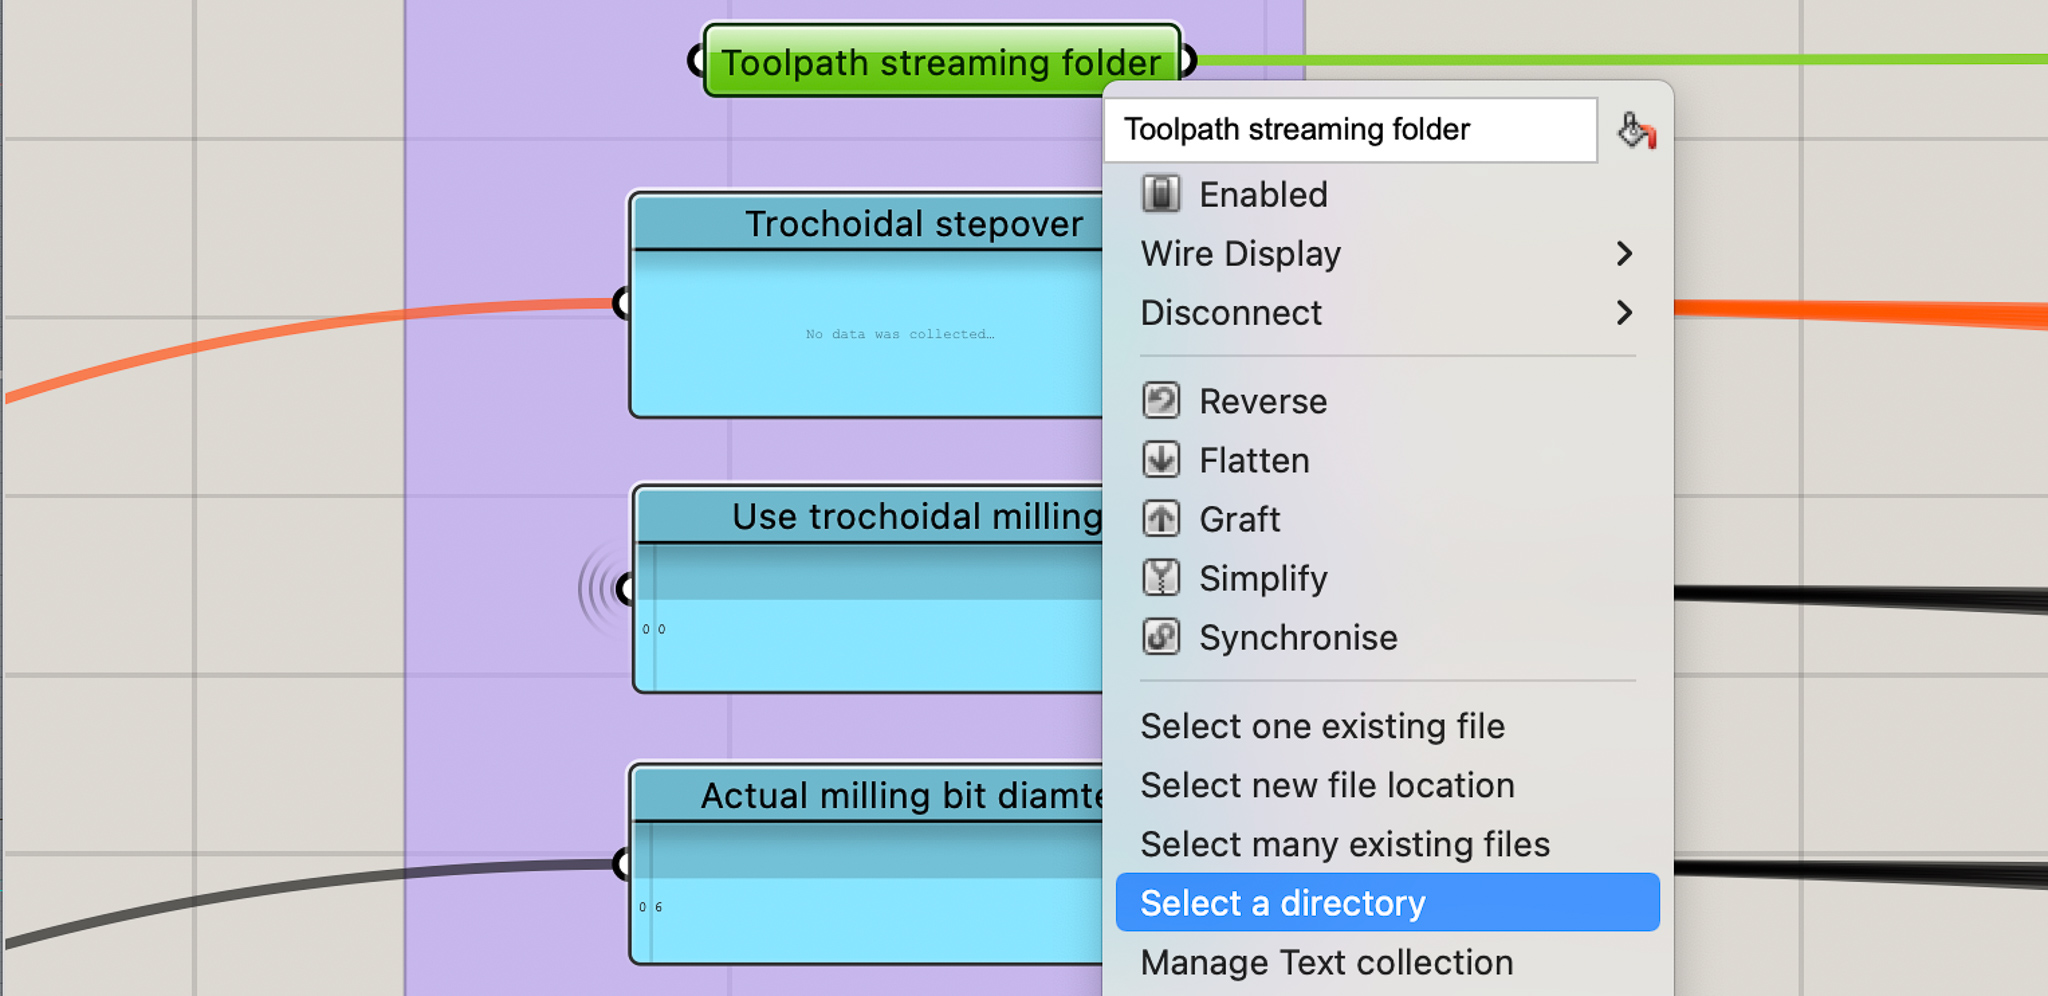
When using the templates the first time, configure where the generated toolpaths are saved
Screw markers toolpath
- Create circles with tool diameter & copy to screw positions
- Set drill depth to
1mmin grasshopper - Select all screw circles
- Right click
CNC drill>Change object layer - Copy
\1 Drill - Bark beetle.NCfile from cnc_jobs folder
Other toolpaths
- Create next toolpath (from inside out) e.g. engrave
- Right click
CNC engrave>Change object layer - Copy engrave file from cnc_jobs folder
Sacrificial layer surfacing
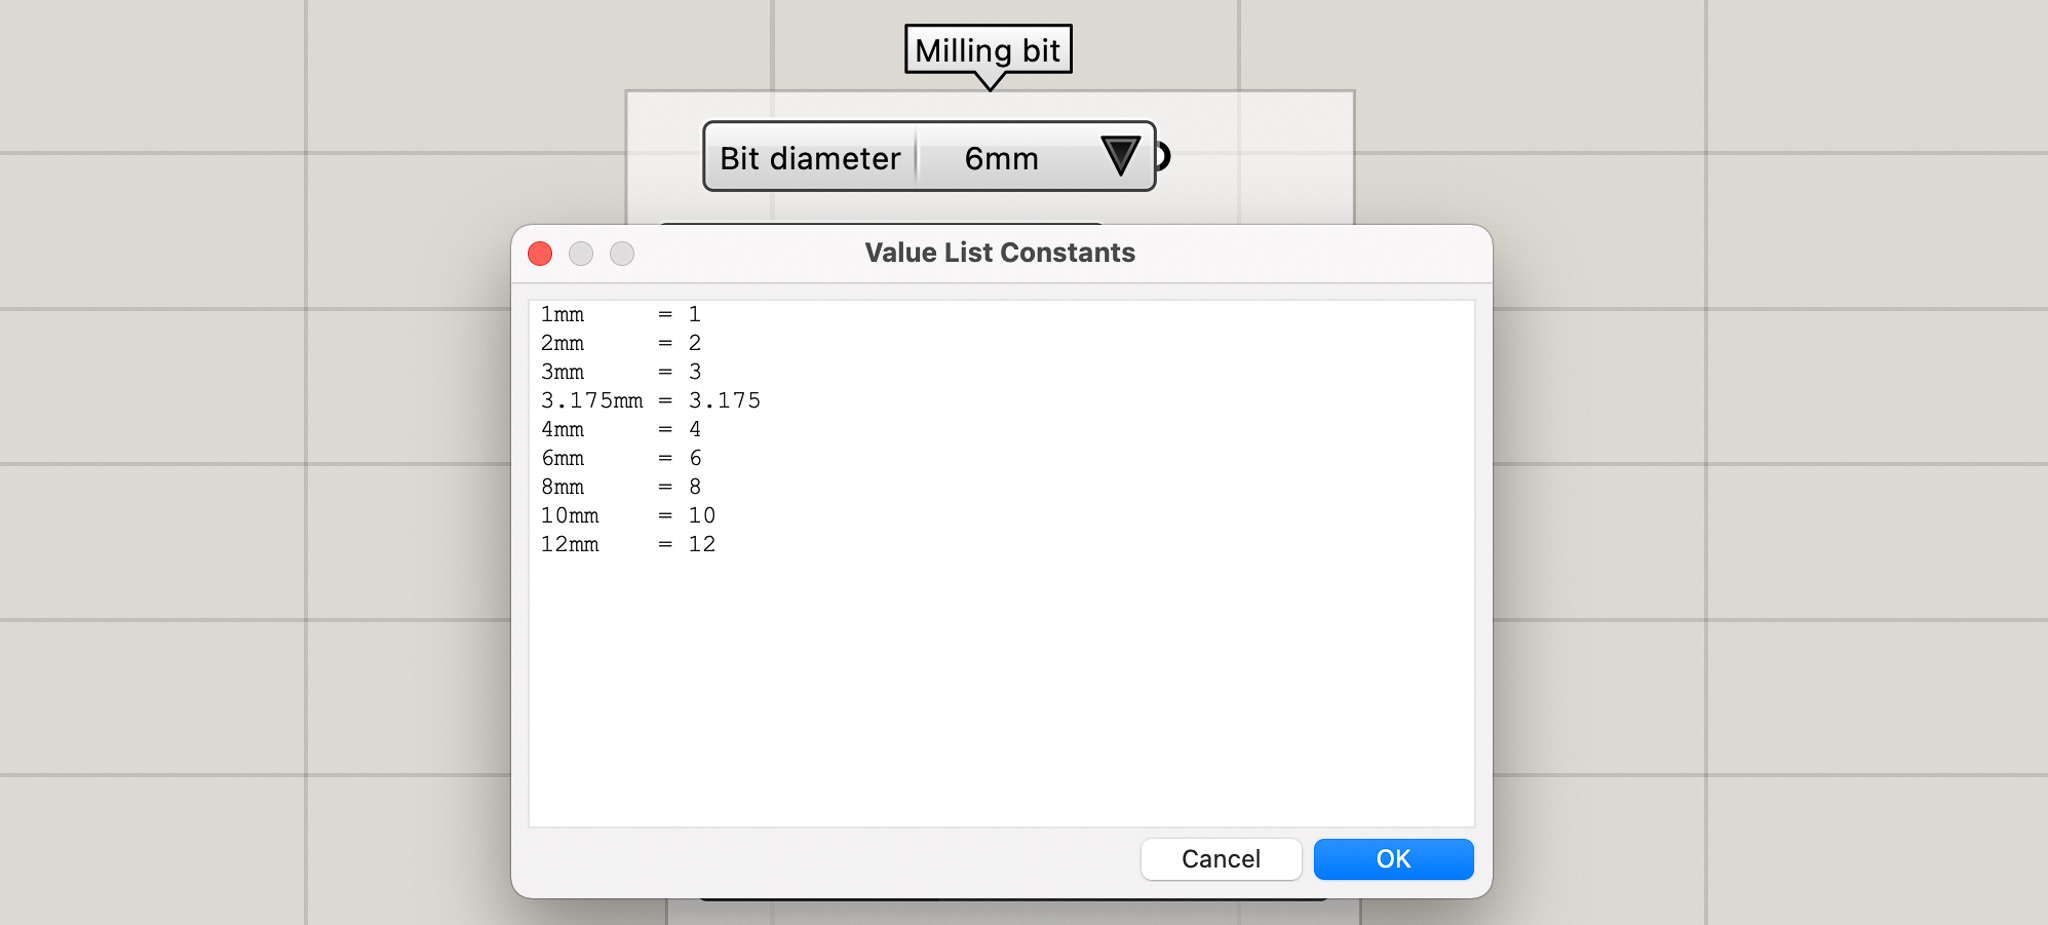
To level the sacrificial layer we use a 20 mm tool. By default grasshopper doesn’t have a 20 mm tool in the Bit diameter dropdown. It’s easy to add one with a right click on bit diameter > Edit and then just adding the custom tool to the list
This is some ready GCODE for surfacing with a 20 mm tool. It covers an area of 1230 x 2450 mm. That’s bigger than the MDF plate because it goes 5mm over the edge of the plate all around.